使用 Typora 来编辑你的 Hugo 博客
4月 1, 2020
最近 typroa 用的比较多,然后又想着继续维护在 github pages 的博客,觉得把 typora 编辑完的东西再复制到博客项目里很麻烦,于是开始了一番折腾。
目标是啥 #
在 typora 写的笔记放在了 iCloud,然后可以一键同步到我的线上博客
使用 hugo #
hugo 是一个静态文件生成器,首先你需要用 hugo 自己生成一个项目
hugo new site quickstart
进入quickstart 并添加一个主题
cd quickstart
git init
git submodule add https://github.com/budparr/gohugo-theme-ananke.git themes/ananke
复制下配置文件(后续可以定制)
echo 'theme = "ananke"' >> config.toml
以下不需要做 #
不熟悉 hugo 的可以试着跑一下,创建一篇新的blog
hugo new posts/my-first-post.md
随便写点东西
---
title: "My First Post"
date: 2019-03-26T08:47:11+01:00
draft: true
---
hello, first blog
重点来了 #
hugo 的静态生成是可以指定项目外的 content 路径的,比如我的文档在 iCloud 的地址是~/Library/Mobile\ Documents/iCloud/typora/Blog ,通过下面命令可以在本地预览效果。
hugo -c ~/Library/Mobile\ Documents/iCloud/typora/Blog server
通过这条命令生成静态文档,hugo 会生成在public文件夹下
hugo -c ~/Library/Mobile\ Documents/iCloud/typora/Blog
我写了一个 deploy.sh 的脚本,在 hugo 项目下执行这个脚本就可以把你的 public 下的静态文件发布到你的 github page 了,注意把脚本中的项目地址改成你自己的。
#!/bin/sh

# If a command fails then the deploy stops
set -e

printf "\033[0;32mDeploying updates to GitHub...\033[0m\n"

# Build the project.
# hugo # if using a theme, replace with `hugo -t <YOURTHEME>`

# Go To Public folder
cd public
git init
git remote add origin git@github.com:tcitry/blog.git
# Add changes to git.
git add .

# Commit changes.
msg="rebuilding site $(date)"
if [ -n "$*" ]; then
	msg="$*"
fi
git commit -m "$msg"

# Push source and build repos.
git push -f origin master

# come back zero
rm -rf .git
cd ..
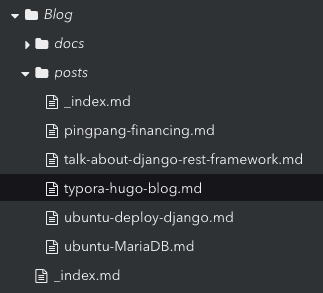
下面是我在 typora 的目录结构
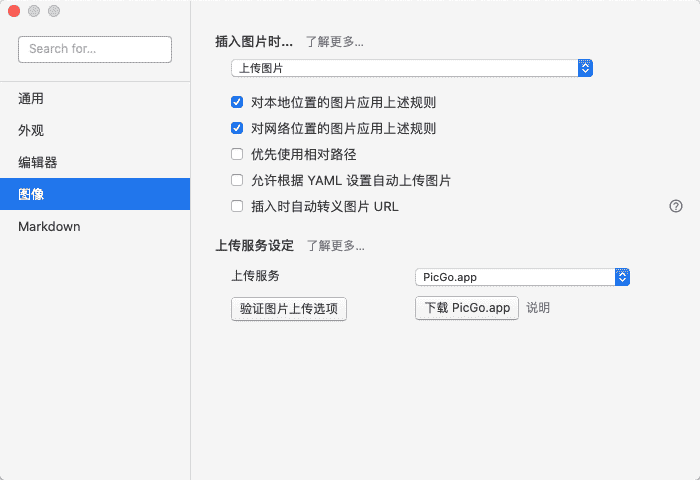
图片怎么办? #
typora 集成了 uPic、PicGo 等图床工具,在 github 或者其他 oss 新开个图床,配置一下自动上传就可以了。
总结 #
综上,这次剩下的,就真的只有开始写了。